All posts by First Response Appliance Repair AC & Heating

About First Response Appliance Repair AC & Heating

angieslist.com/review/8912066

Stinky Washing Machine?

We recieve more calls from our customers each year for the “stinky washer” problem. This is becoming more common because manufacturers add different features like, automatic soap dispensing tanks, steam cleaning, etc. The front load washers seal up tight, in order to not leak water out of the door while in use. But this creates the perfect environment for MOLD & MILDEW to collect and grow, because it is dark and damp, and it receives little fresh air flow. 
So we’d like to show our customers the best way to maintain a cleaner washer in order to help get the best performance from their machine. Tide Washing Machine Cleaner work wonders, when using this method.

Step One: Remove all clothing and soap from the washer, and pour the powder mixture directly into the tub.
Step Two: Set the washer to the highest water level, with the hottest temp setting. Choose the normal wash cycle. (Some newer models are equipt with a clean cycle, use that if so). Start the washer and allow it to fill until it begins agitating. Then pause the cycle.
Step Three: Allow the washer the sit on pause for 20-30 minutes while the powder mixture dissolves and starts attacking all the bacteria. After you’ve waited for 20-30 minutes, resume the cycle and allow it to finish.   
Step Four: Your washer should now have a much more pleasant odor! Now be sure to leave the door cracked on the washer to allow it to air out when not in use. We like to have our customers just leave a towel or rag draped over the door so it cannot accidentally close.

We hope this tip helps you guys!
Remember to do this every 3-4 months to ensure the best results year round!


Clean your oven safely…..

Instructions
1. Remove the oven racks: Remove your oven racks, pizza stone, oven thermometer, and anything else you have inside the oven. Set aside.
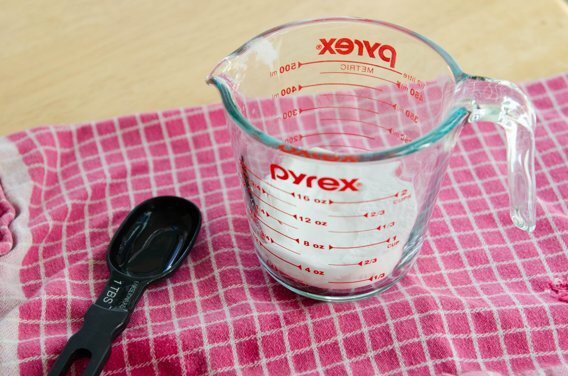
2. Make a baking soda paste: In a small bowl, mix a 1/2 cup of baking soda with a few tablespoons of water. Adjust the ratio of both as needed until you have a spreadable paste. For me this took about 3 tablespoons of water to get the desired spreadable consistency.
3. Coat your oven: Spread the paste all over the interior surfaces of your oven, steering clear of the heating elements. I used gloves for this portion as my oven was pretty grimy. It helped me really get in there and coat the dirtiest nooks and crannies without having to worry about all that grime under my nails. The baking soda will turn a brownish color as you rub it in; it also might be chunkier in some places than others. That is fine. Just try to coat the whole oven to the best of your abilities, paying attention to any particularly greasy areas.
4. Let it sit overnight: Allow the baking soda mixture to rest for at least 12 hours, or overnight.
5. Clean your oven racks: Meanwhile, clean your oven racks. See the full cleaning tutorial here.
6. Wipe out the oven: After 12 hours or overnight, take a damp dish cloth and wipe out as much of the dried baking soda paste as you can. Use a plastic or silicone spatula to help scrape off the paste as needed. I found that the damp cloth was enough for me, but a spatula might come in handy in those hard-to- reach places.
8. Spray a little vinegar: Put a little vinegar in a spray bottle and spritz everywhere you still see baking soda residue in your oven. The vinegar will react with the baking soda and gently foam.
9. Do a final wipe down: Take your damp cloth and wipe out the remaining foamy vinegar-baking-soda mixture. Repeat until all the baking soda residue is gone. Add more water or vinegar to your cloth as needed while wiping to really get the oven clean and shiny.
10. Replace your oven racks: Replace the oven racks and anything else you keep in your oven, and you’re done! 


Heater Problems?

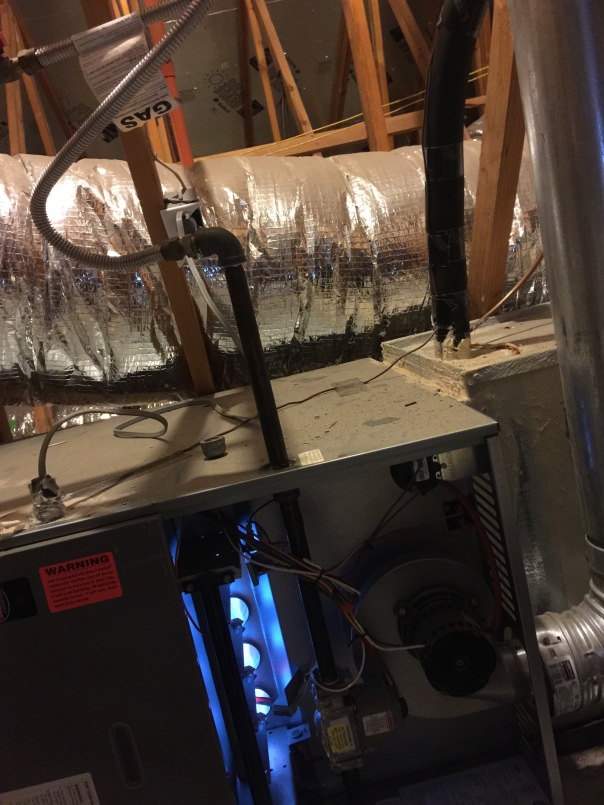
It’s an easy thing to forget about maintaining your heating and air conditioning system. But it could really save you some serious cash and headache to have it checked out every year or so. This customer had us by to look at the heater before they fired it up for the season and what we found was a potential failure. The igniter is a critical part of the heating system and when it’s worn or bad, you will get no operation from the system and it could potentially cause a fire because of gas that is expelled each time it tries to start up. So not only did we find the potential cause of failure, but they saved over $100 having it fixed during our check up as opposed to calling us out when it had failed and paying the full rates. We offer this discount to our clients when we are already out looking over the system because we believe you deserve it when you’re being a smart homeowner. Schedule your check up today and get rid of the headache to come.  


Free Furnaces!

Trouble making ends meet already? Well we’ve got the answer for you! SDG&E has started a program that allows a free furnace replacement for your old energy sucker. This program is for low income households, so you’ll need to log onto their website and see if you qualify. Jose G. in Vista just got his new furnace today, so he has nothing to worry about this winter!